

Before you begin
All four screens require a supplier administrator account.Zones
Go to Settings → Delivery → Zones. A zone is a named group of postcodes.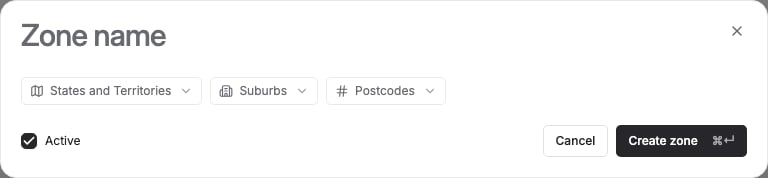
- Enter a Zone name.
- Add postcodes using the postcode picker — you can select whole States and Territories, search and add all postcodes for a Suburb, or browse and select individual Postcodes.
- A postcode already used by another zone can’t be added again — zones can’t share postcodes.
- Toggle Active and save.
Schedules
Go to Settings → Delivery → Schedules. A schedule is a named set of recurring delivery days.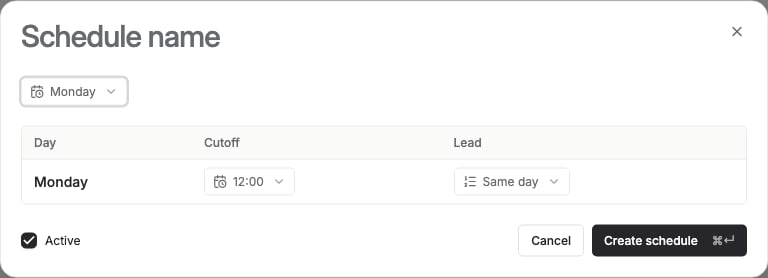
- Enter a Schedule name.
- Select the Days you deliver.
- For each selected day, set a Cutoff time and a Lead time (how far ahead of delivery the cutoff applies — shown as “Same day”, “1 day before”, and so on).
- Toggle Active and save.
Fees
Go to Settings → Delivery → Fees. A fee applies to a zone, and optionally to one specific schedule within it.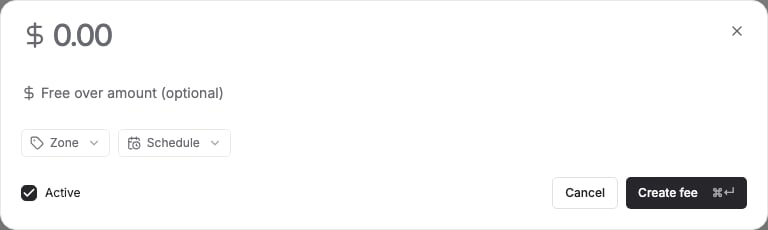
- Choose a Zone.
- Choose a Schedule, or leave it set to All schedules to apply the fee across every schedule in that zone.
- Enter a flat delivery fee amount, and optionally a Free over amount — orders above that amount aren’t charged the fee.
- Toggle Active and save.
Non-delivery dates
Go to Settings → Delivery → Non-delivery dates. Use this to block a specific date from delivery entirely.- Choose a Date.
- Optionally add a reason.
- Save.